Actions
Task #292
openOBS Installation and Setup
Start date:
03/09/2026
Due date:
% Done:
0%
Estimated time:
Description
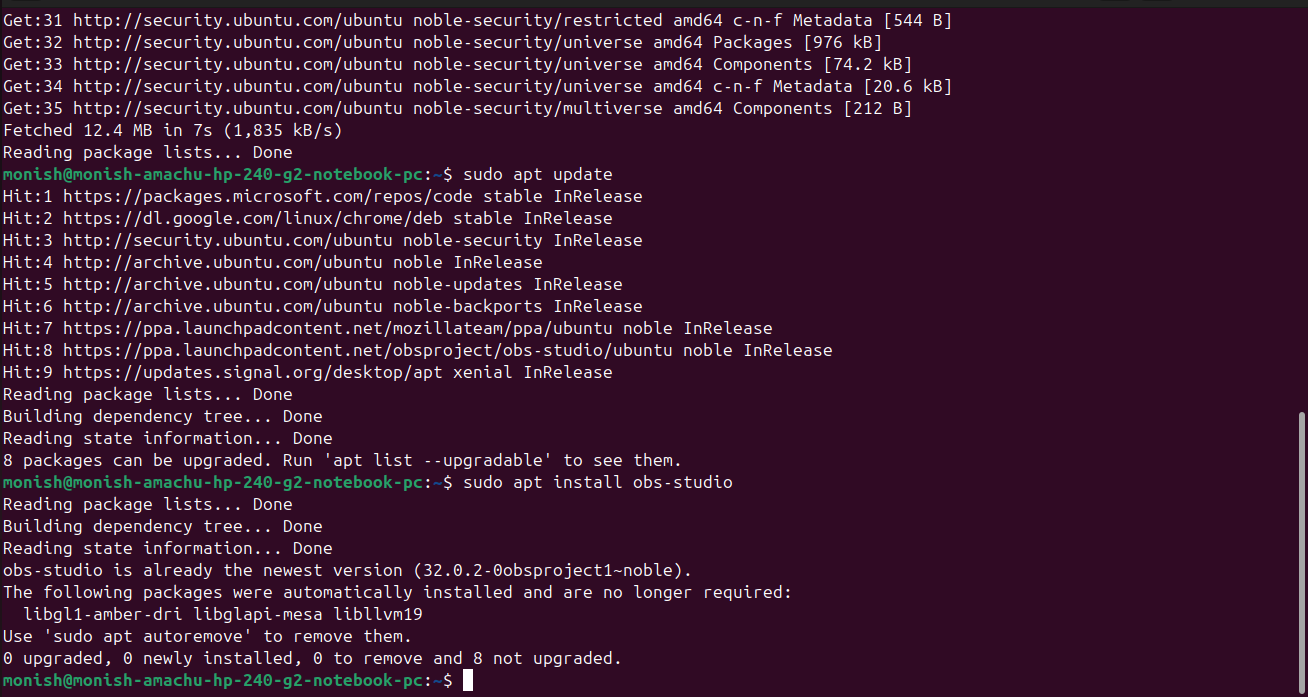
To install OBS using the following commands
sudo add-apt-repository ppa:obsproject/obs-studio

sudo apt update

sudo apt install obs-studio
Files
Updated by Amul Munusamy 3 months ago
- Copied from Task #291: OBS Installation and Setup added
Updated by Amul Munusamy 3 months ago
- Copied from deleted (Task #291: OBS Installation and Setup)
Actions
#3
Updated by Monish Munusamy 3 months ago · Edited
- File obs_studio(ppa_repository).png obs_studio(ppa_repository).png added
- File updation_and_obs-insallation.png updation_and_obs-insallation.png added
- Status changed from New to In Progress
.png)
Actions
#4
Updated by Monish Munusamy 3 months ago
- File obs_interface.png obs_interface.png added
- File adding_source(obs).png adding_source(obs).png added
- File src_creation(obs).png src_creation(obs).png added
- File screen_sharing(obs).png screen_sharing(obs).png added
- File start_recording.png start_recording.png added
- File stop_recording.png stop_recording.png added
- File remux_recordings(.remuxed).png remux_recordings(.remuxed).png added
- File to_mp4.png to_mp4.png added
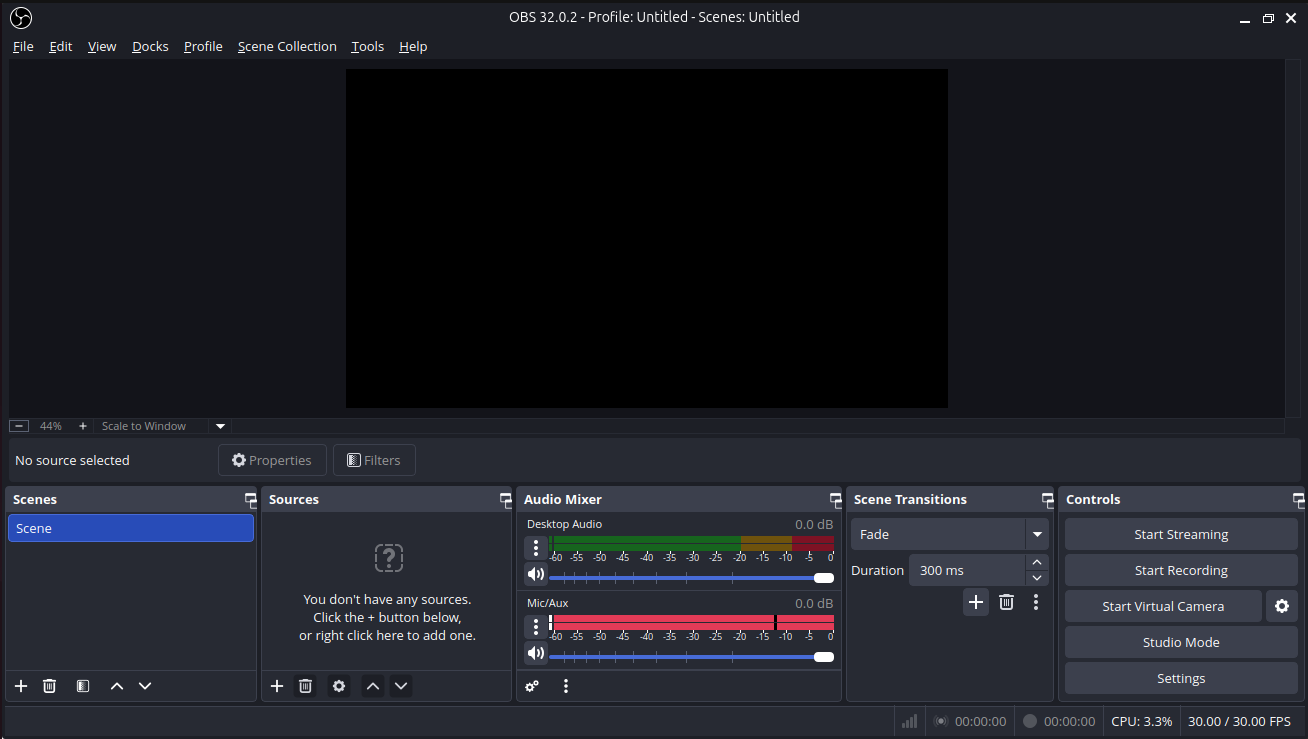
OBS Setup
- Click OBS to run the application.
-
Before Screen recording add source and click screen capture(pipewire).
Path: Docks --> Sources --> screen capture(pipewire).
.png)
- Create a new Source
.png)
- Select the Entire Screen
.png)
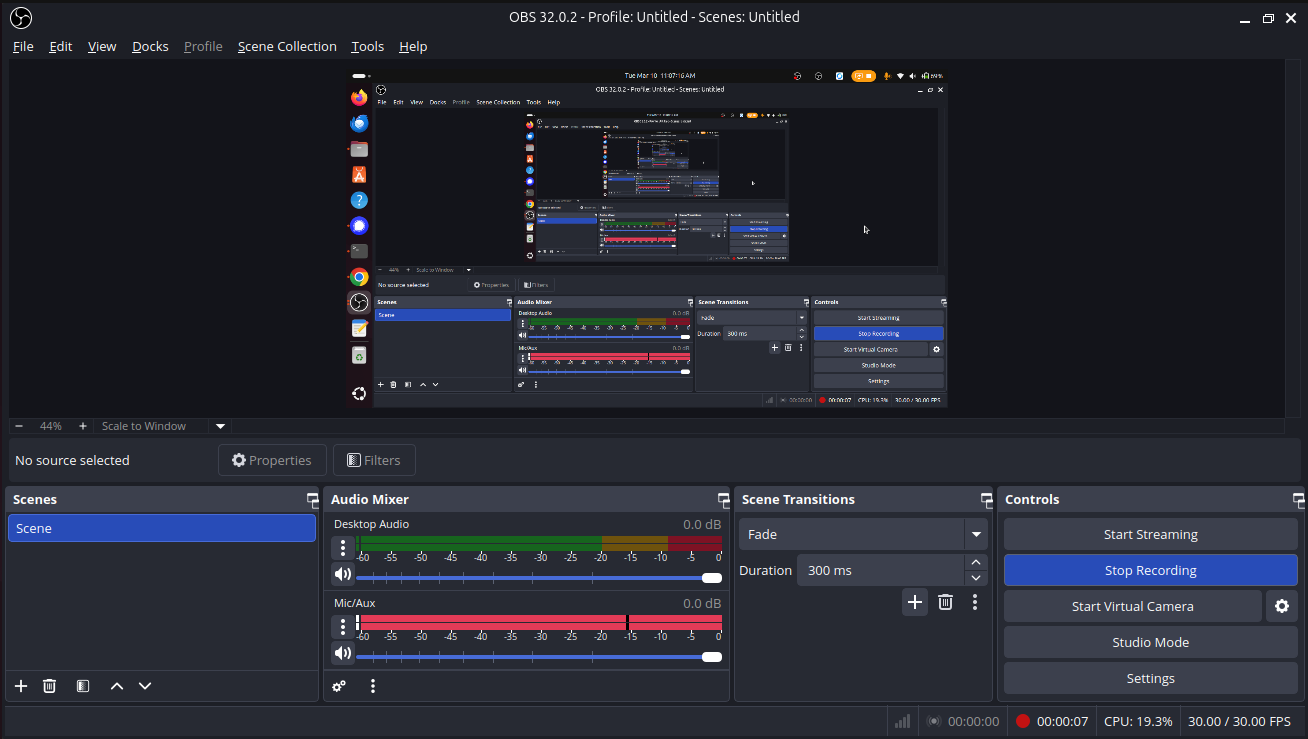
- Click start recording
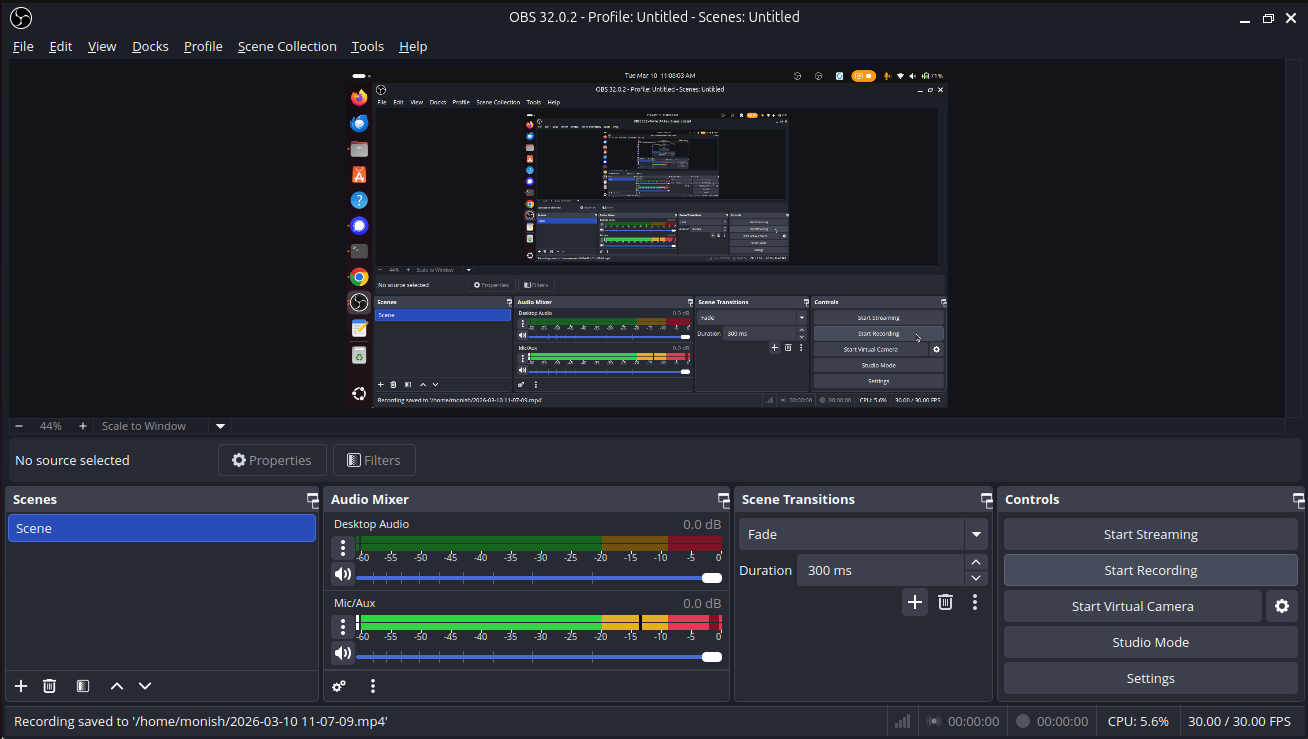
- Click stop recording to stop.
-
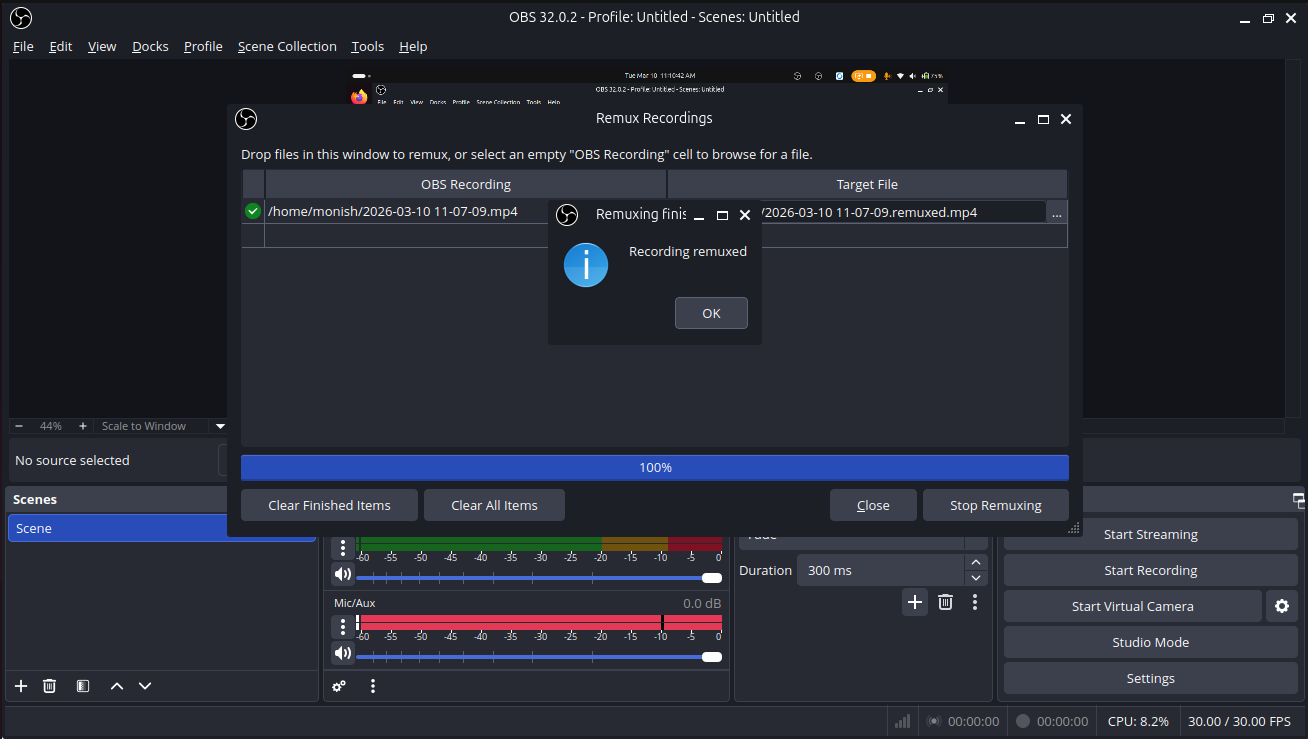
To change an OBS recording from MKV to MP4, use the Remux Recordings feature in OBS Studio
Path: File --> Remux Recording
.png)
- Select obs recording file and click remux button and converted into MP4 file.
Updated by Monish Munusamy 3 months ago
- Status changed from In Progress to Resolved
Actions
#6
Updated by Monish Munusamy 3 months ago
- File audio_mixer.png audio_mixer.png added
- File filters_button.png filters_button.png added
- File filter.png filter.png added
- File adding_noise_suppression.png adding_noise_suppression.png added
- File naming_noise_suppression.png naming_noise_suppression.png added
- File method_setting_for_noise_suppression.png method_setting_for_noise_suppression.png added
- File adding_noise_gate.png adding_noise_gate.png added
- File naming_noise_gate.png naming_noise_gate.png added
- File RNN_Noise.png RNN_Noise.png added
- File thresthold_value_setting_for_noise_gate.png thresthold_value_setting_for_noise_gate.png added
Audio Filter for OBS Studio
Step-1: Open OBS Studio
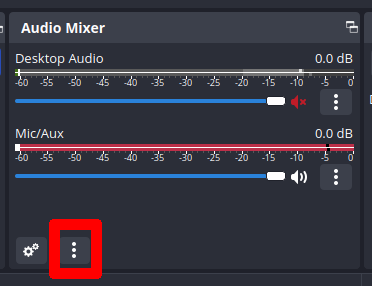
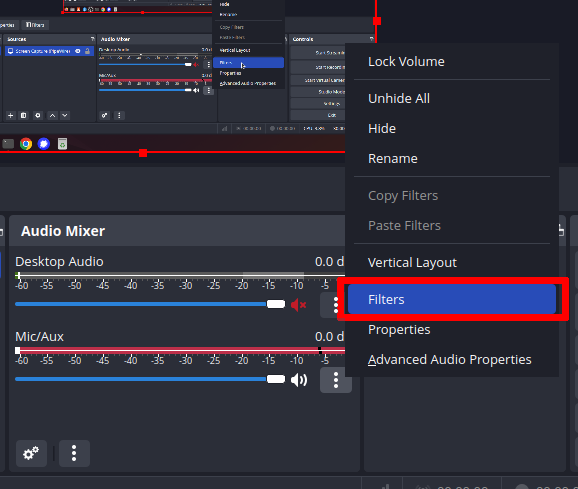
Step-2: Click Filters button
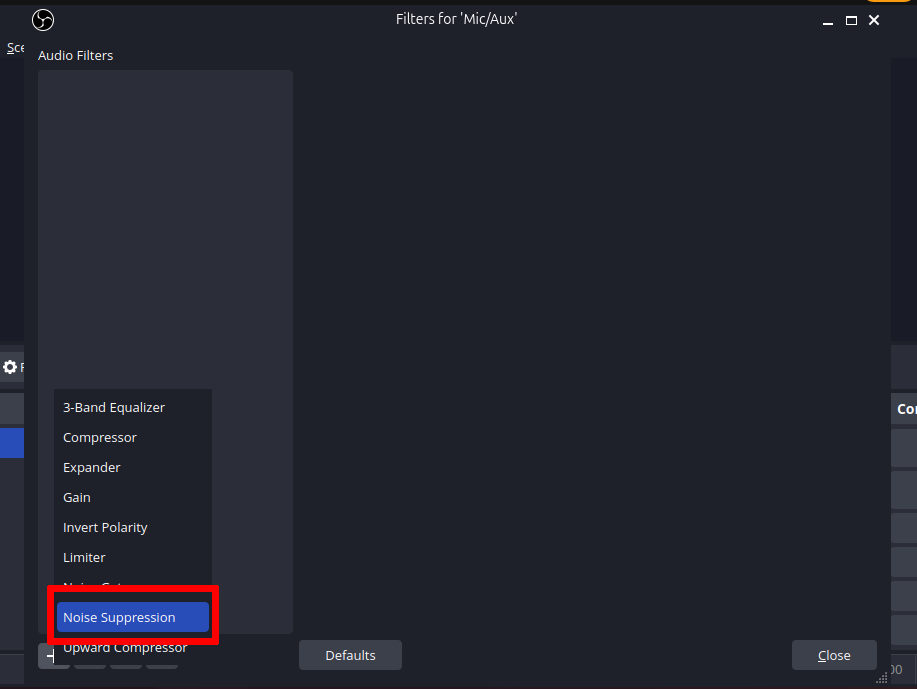
Step-3: Click plus "+" button and search "Noise Suppression"
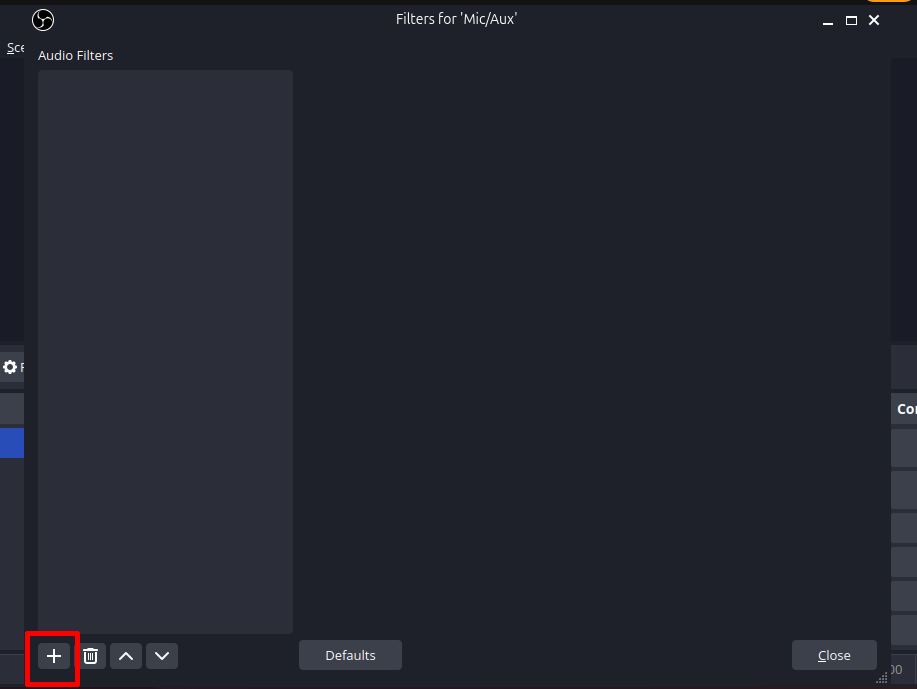
Step-4: Select Noise Suppression and click it
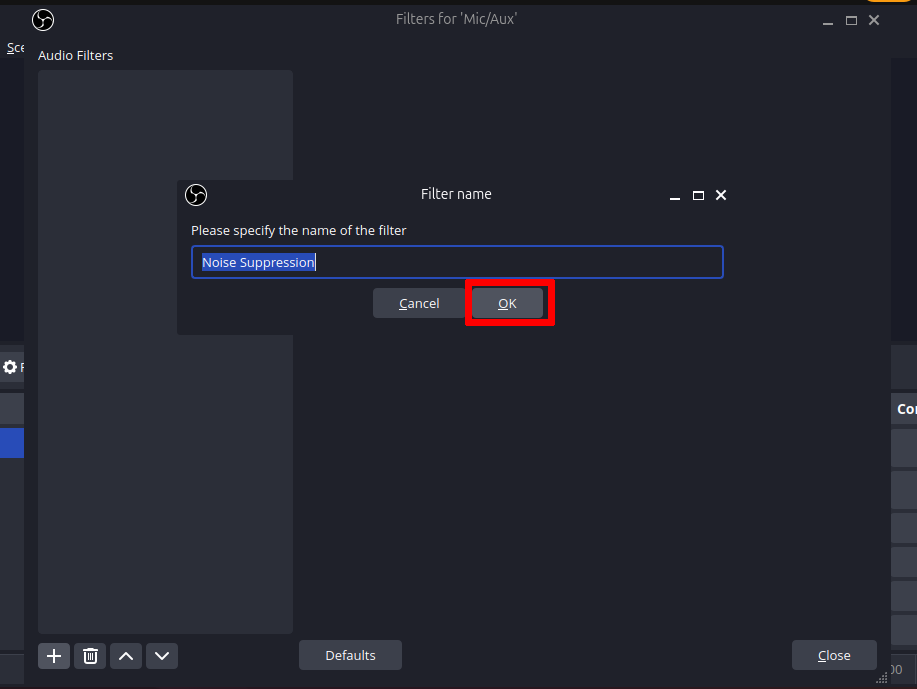
Step-5: Name the filter or leave the name as it is
Step-6: Select RNNoise for good audio quality
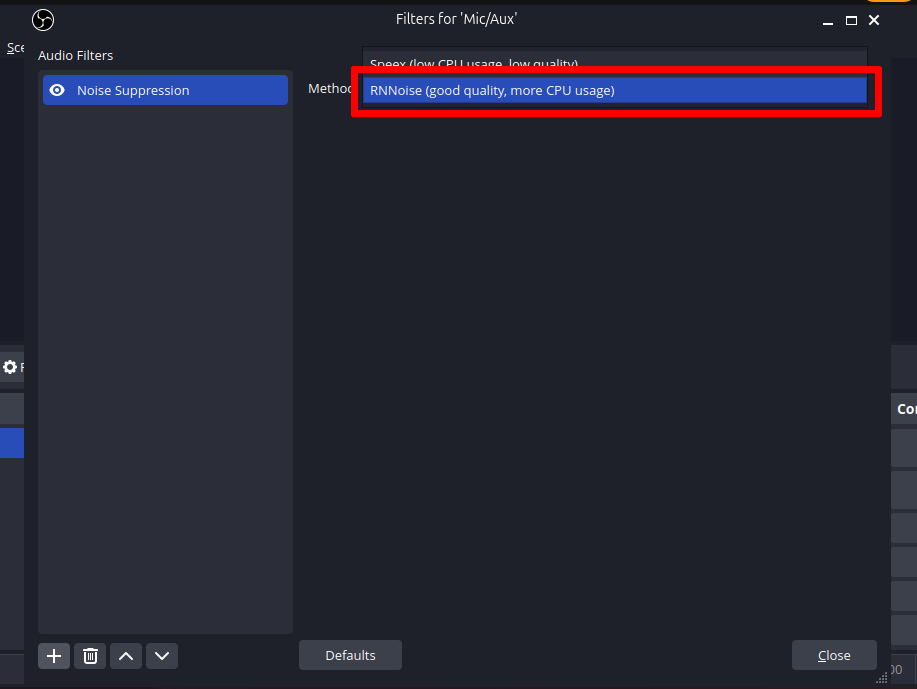
Step-7: RNNoise is selected

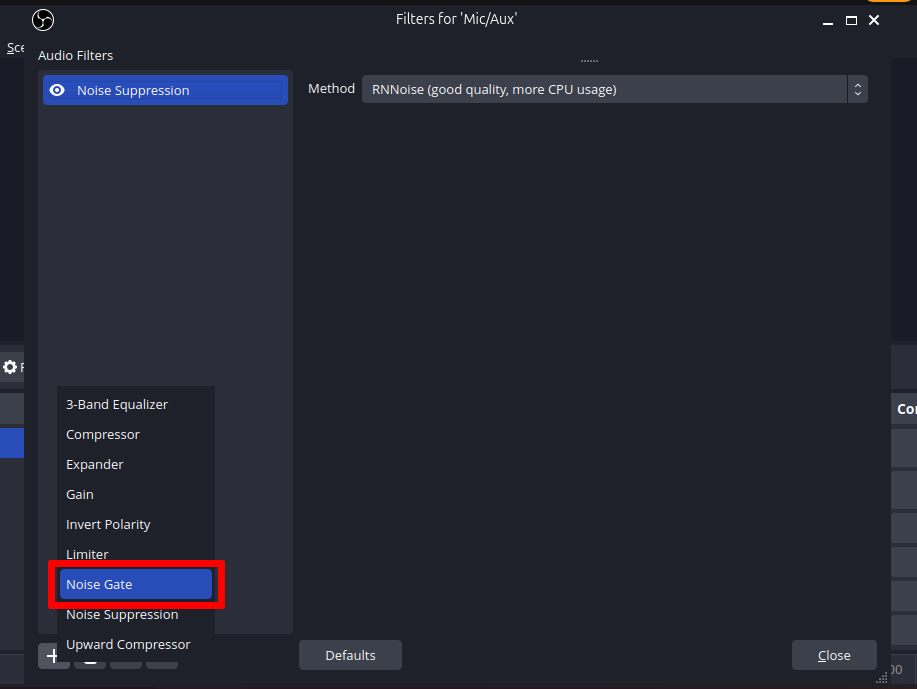
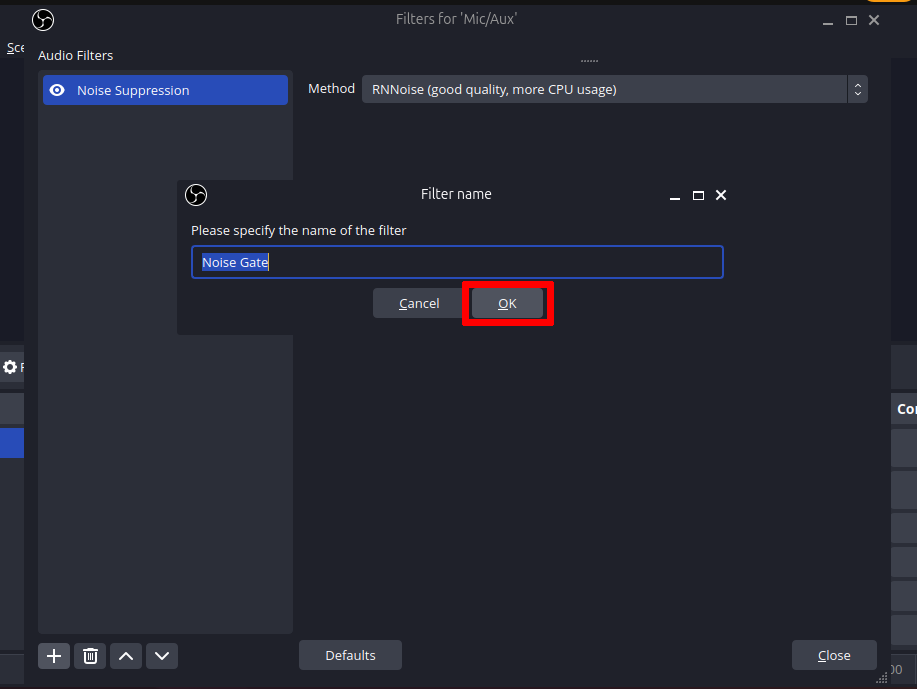
Step-8: Add another filter named "Noise Gate" and select it
Step-9: Name it or leave it
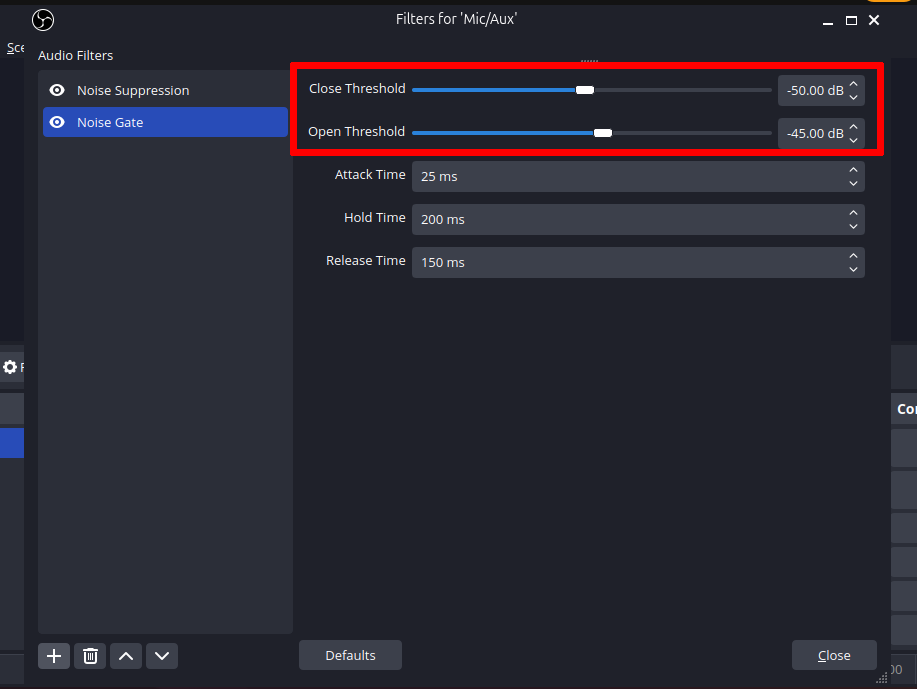
Step-10: Set Close Threshold value as -50db and Open Threshold value as -45db
Actions